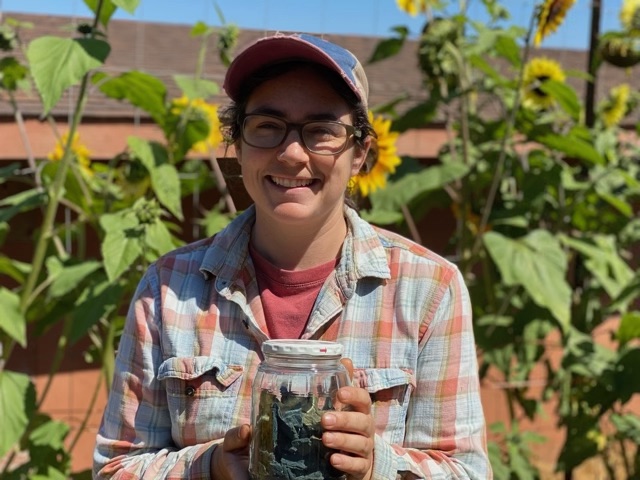
My August calendar was packed, and Corey and I were scheduled to leave for a short vacation on August 18, but the indigo that Melinda had planted and tended in our garden was telling us it was ready to harvest. The plants were the right size, and the leaves turned blue with crushing. We didn’t want to wait too long. So Melinda and I planned our harvest for Friday the 12th.
We were planning to use a fresh-dying protocol to dye some yarn, and we cut all the indigo and plucked leaves for the fresh vat.
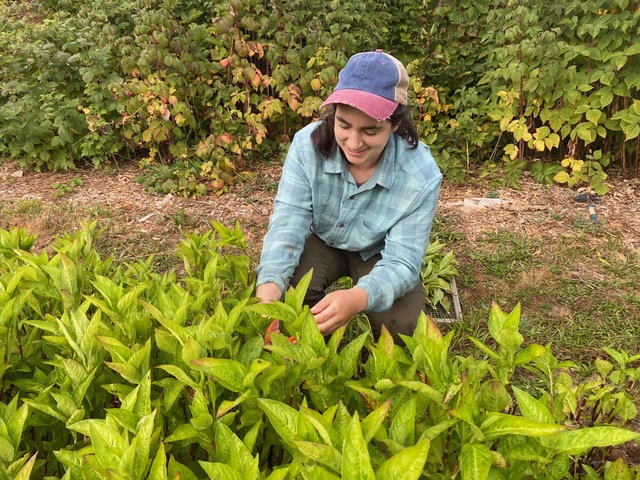
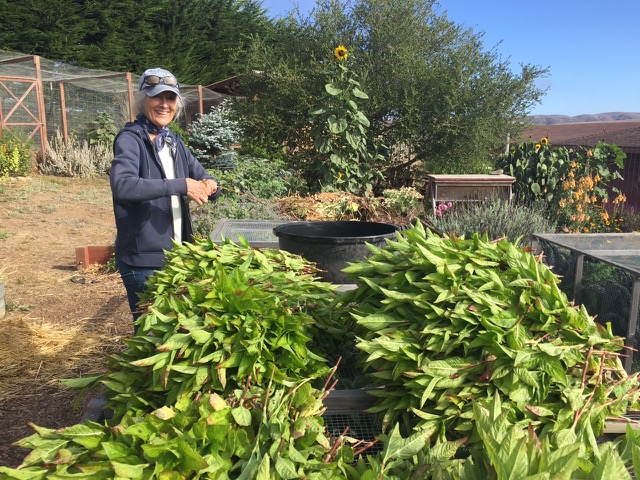
We hadn’t been able to estimate how much indigo we would have, but it became clear very quickly that we were going to have a LOT more than the 2 pounds of leaves that we needed for the fresh-vat recipe, and although that amount wouldn’t dye much yarn, that recipe looked like it would be difficult to scale up, especially on short notice. So, we pivoted quickly and I dug out my recipe for indigo fermentation and powdered dye preparation, from a class I took at Fibershed from Judy Petite last year. While I set up the fresh vat preparation, a process that requires the leaves to be gently steamed for 3 hours, Melinda continued to process the rest of the indigo harvest for fermentation.
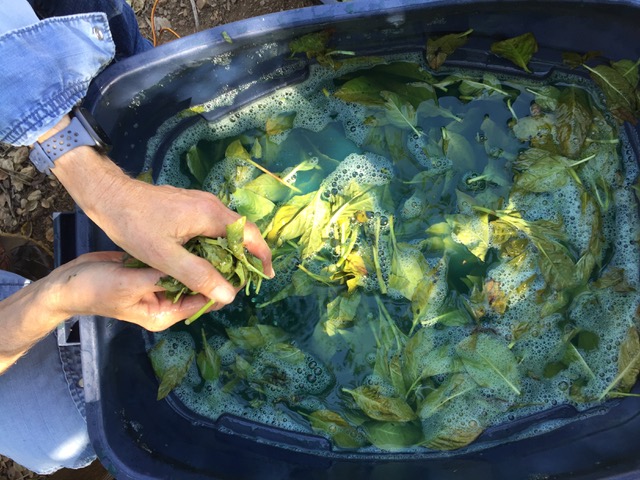
We wound up with a full plastic tub of indigo leaves and stalks, covered them with water, and left them in the garden to ferment. The protocol gave us a series of indications to watch for to tell if the fermentation was finished, and a general guideline that it would take 1-5 days depending on temperature. I had seen a fermentation in the Fibershed class, but we were still pretty uncertain about when we would be able to process the pigment. We were all ready to do it on Sunday, but the indigo was NOT ready for us. Monday I had to drive fleeces to the wool show in Monterey and skins to the tannery in Modesto, so we begged the indigo to wait until Tuesday, and thank goodness it did.
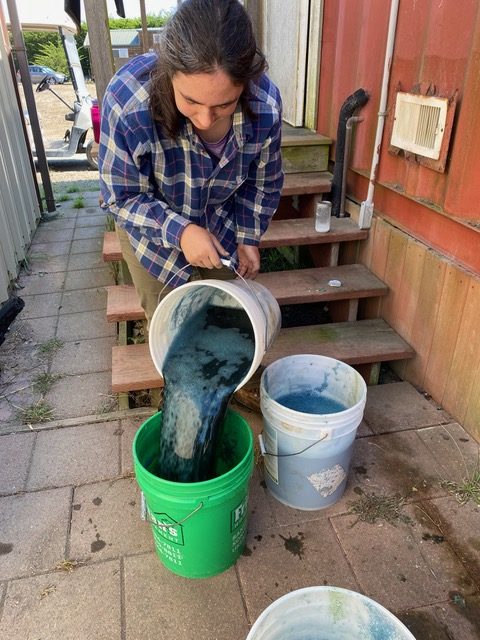
Tuesday morning Melinda and I removed the plant debris, then raised the pH of the solution and aerated it by pouring it from bucket to bucket, before leaving it overnight for the indigo to precipitate. Wednesday, which was my last day before leaving, we planned to filter out the pigment and leave it in our dehumidified storage area to dry. That was when we ran into beginner’s problems. It turned out we hadn’t brought the pH high enough, so we needed to do another pH adjustment and leave it longer. Then when we began to filter the pigment, our filters clogged. We had a huge volume to filter and felt quite discouraged. Melinda did some quick internet research and learned a lot from the experience of others. People suggested using a clear bucket and letting the pigment settle, then siphoning off the colorless liquid from the top with a colorless tube, drastically reducing the amount of liquid required to pass through the filter. We decided to leave the buckets overnight to let the pigment settle. And I left town, feeling sorry to leave Melinda with an unfinished and frustrating project.
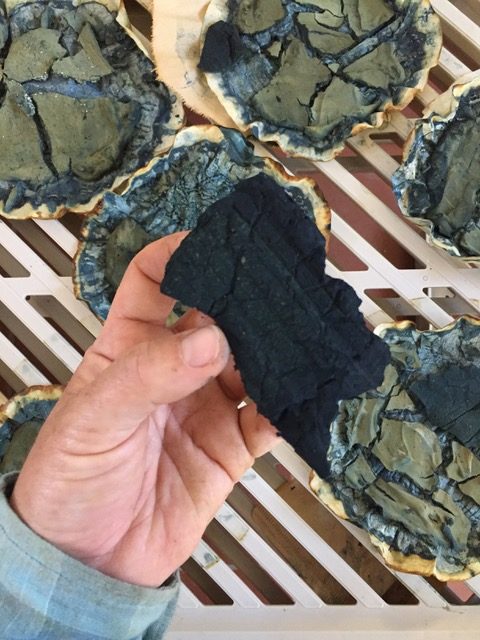
But Melinda persisted, siphoned off the liquid after the pigment had settled, and created a whole set of homemade filters with coffee filters and Tupperware, to make the final filtering go faster. She kept me informed by text and photos, and wound up with a beautiful harvest of indigo pigment, ready to use for dyeing this winter when we have the time! We will have a second indigo harvest in coming weeks and this time we will be much better-prepared, after all we learned on this round.
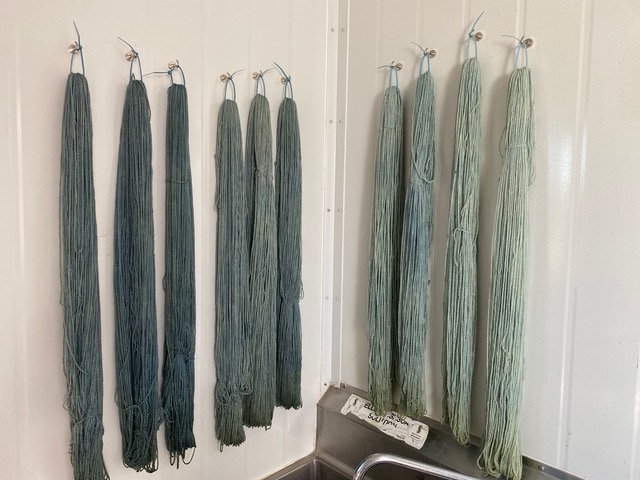
We are really glad that we did the fermentation and have all this pigment to use, because the results of my dyeing with the fresh vat were disappointing. I didn’t get green as many people report with fresh indigo vats, but the blue I got was rather muddy and also inconsistent. I will use it for something, but I’m looking forward to getting more saturated color with a proper indigo vat using our dried powdered pigment!
